
Make a Small Bathroom Feel Bigger with Smart Tile Design
A small bathroom remodel can do a lot for how your home feels every day. When the room is cramped, dark, and dated, getting ready can feel like a chore instead of a calm break in your day. The good news is that you do not need to move walls to get a spa-like feel. Smart tile choices can change how your eye reads the room.
With the right layout, finish, and tile size, walls can seem taller, floors can feel wider, and light can bounce around the space instead of getting swallowed up. Careful tile design reduces visual clutter so your bathroom feels clean, calm, and open. These details matter even more in Twin Cities homes, where bathrooms often run on the smaller side and our long indoor season makes every square foot count.
At Massoglia Contracting in Blaine, we focus on high-quality bathroom remodeling with precise tile work and durable construction, backed by a five-year craftsman’s guarantee. June is a smart month to start planning and locking in a fall or winter bathroom remodel, so your fresh new space is ready when you are spending more time inside again.
Use Vertical Tile Patterns to Add Height and Drama
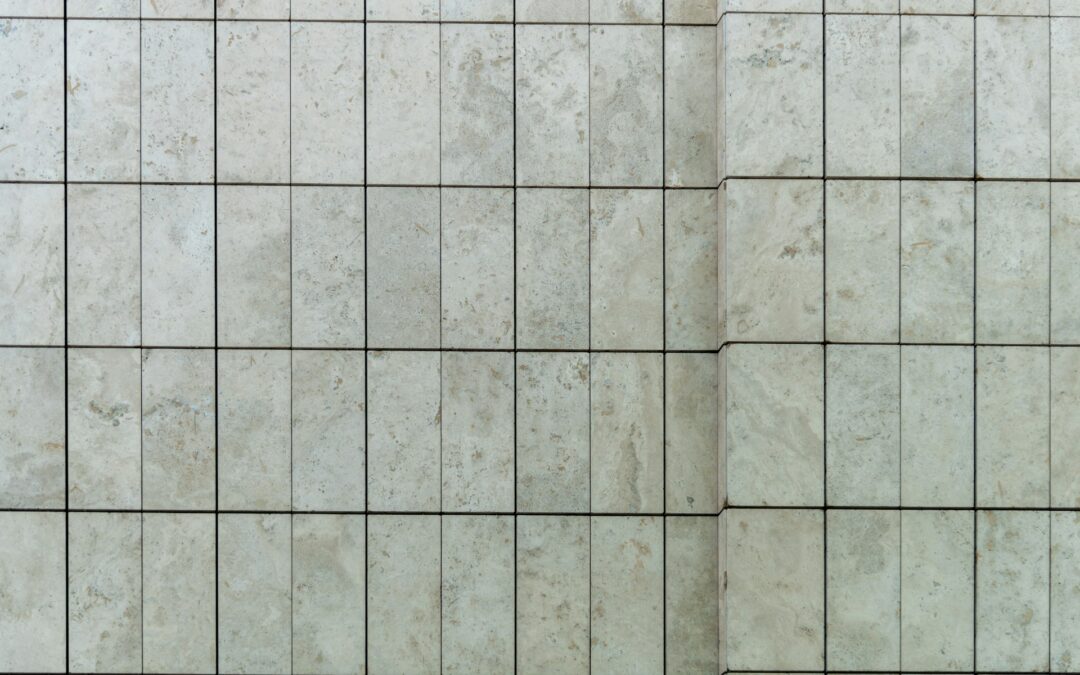
Vertical tile patterns are one of the simplest ways to make a low, tight bathroom feel taller. When grout lines run up and down instead of side to side, your eye follows those lines, which makes the ceiling feel higher. This gives you that “wow” moment even when the room itself is small.
Popular vertical layouts include:
- Vertical stack, where tiles line up in neat columns
- Vertical offset, like a brick pattern turned on its side
- Vertical herringbone, a zigzag pattern that feels bold and stylish
Here is where each pattern often works well in a small bathroom remodel:
- Shower walls: Vertical stack or vertical herringbone to pull the eye up
- Behind the vanity: Vertical offset for subtle movement without feeling busy
- Feature wall: Floor-to-ceiling vertical stack behind the tub or toilet
Vertical patterns are unforgiving. Even a tiny shift in alignment will stand out when those lines run from floor to ceiling. Clean cuts, even spacing, and straight reference lines are key. This is where professional tile layout makes a big difference.
We plan vertical tile around:
- Shower niches, so the niche edges land on grout lines
- Faucets and valves, so cuts feel centered and balanced
- Windows and corners, to avoid thin “sliver” pieces that look awkward
By thinking through the layout before the first tile is set, we keep walls looking calm, even when the pattern is dramatic.
Choose Light-Reflective Tile Finishes for an Airy Feel
Light is your best friend in a small bathroom. Glossy and semi-gloss ceramic or porcelain tiles reflect both natural and artificial light, which helps the room feel brighter and more open. This is especially nice on gray winter days in Minnesota, when every bit of brightness counts.
Good spots for light-reflective finishes include:
- Shower walls, to bounce light into corners
- Vanity backsplash, to reflect light from the mirror area
- A feature strip or band, to add a subtle shimmer without overdoing it
On the floor, a softer, more matte finish is usually better. It feels more comfortable under bare feet and gives better traction when the surface is wet. Shower floors and pans are another place where slip resistance matters more than shine.
Many homeowners worry about glare or seeing every water spot. The right sheen level helps avoid harsh reflections. A smooth, easy-to-clean tile surface, paired with quality grout, makes quick wipes more effective and helps keep soap scum under control.
We also think about how tile finishes work with lighting. Layered lighting can include:
- Vanity lights that give even light across your face
- Recessed shower lights to brighten the enclosure
- Dimmers that let you shift from bright task lighting to a softer, spa-like feel
When tile sheen and lighting are planned together, you get a space that looks good and works well at every time of day.
Minimize Grout Lines with Large-Format Tiles
In a tight bathroom, too many grout lines can make the room feel chopped up. Large-format tiles, like 12×24 rectangles or even bigger, reduce the number of grout joints. The surface feels smoother and more continuous, which helps the room read as larger and calmer.
Visual benefits of large-format tiles include:
- Fewer grout lines for a cleaner look
- Longer lines that can visually stretch the room
- A modern, streamlined style that fits many homes
There are also practical things to keep in mind:
- Floors need an appropriate slip-resistant finish, especially near the shower
- Walls and subfloors must be flat and solid for large tiles to sit correctly
- Grout colors should blend slightly with the tile, not shout for attention
Large-format-tile installation demands a high level of skill. If the surface underneath is not prepared correctly, you can get lippage, where one tile edge sits higher than the next, or stress that can lead to cracks over time.
At Massoglia Contracting, we spend time on the hidden parts first, like substrate prep and layout planning. We use premium setting materials suited to the tile size and conditions in the room. That care helps large-format tile hold up and stay attractive well beyond our five-year craftsman’s guarantee.
Blend Tile Choices for a Cohesive, Space-Saving Look
The real magic happens when vertical patterns, reflective finishes, and large-format tiles all work together instead of competing. The goal is a small bathroom that feels intentional and calm, not busy or chopped up.
Here are some layout strategies that work well in compact Twin Cities bathrooms:
- Run large-format tiles on the floor and continue them into a curbless or low-curb shower to widen the room visually
- Use a vertical feature in the shower, like a floor-to-ceiling stack behind the main wall, to add height
- Keep most of the tile light in color, with one accent area for interest
- Choose just one or two main patterns so the eye can rest
Details are what separate a basic remodel from a custom-feeling space:
- Shower niches that line up with grout lines so they look like part of the wall
- Mitered corners or carefully finished edges for a clean, tailored look
- High-quality caulking at all change-of-plane joints for a long-lasting, flexible seal
We guide homeowners through tile size, pattern, finish, and grout choices so every decision supports the big picture: a bathroom that looks bigger, functions better, and holds up to daily use.
Start Planning Your High-Impact Small Bathroom Remodel
If you are thinking about a small bathroom remodel, begin by noting where the room feels tight, dark, or cluttered. Is the shower cave-like? Do short walls break up the space? Does the tile stop at a random height on the wall? These clues point to how vertical patterns, reflective finishes, and large-format tiles could help.
Collect images of bathrooms you like that feature:
- Vertical tile inside showers or behind vanities
- Glossy or semi-gloss wall tile that reflects light
- Large-format floor tile that makes the room feel longer or wider
Then it is time to sit down with a professional who understands quality tile work and durable construction. A thoughtful plan that covers layout, materials, and timing will help your small bathroom feel bigger and brighter, and keep it that way through years of daily use.
Get Started With Your Project Today
If you are ready to transform a tight, outdated space into a bath that actually works for your daily routine, we are here to help. Explore how a small bathroom remodel with Massoglia Contracting can improve storage, lighting, and overall comfort. Tell us about your goals and budget and we will walk you through clear options and a straightforward timeline. Have questions or want to schedule a consultation now? Simply contact us to get started.

Recent Comments