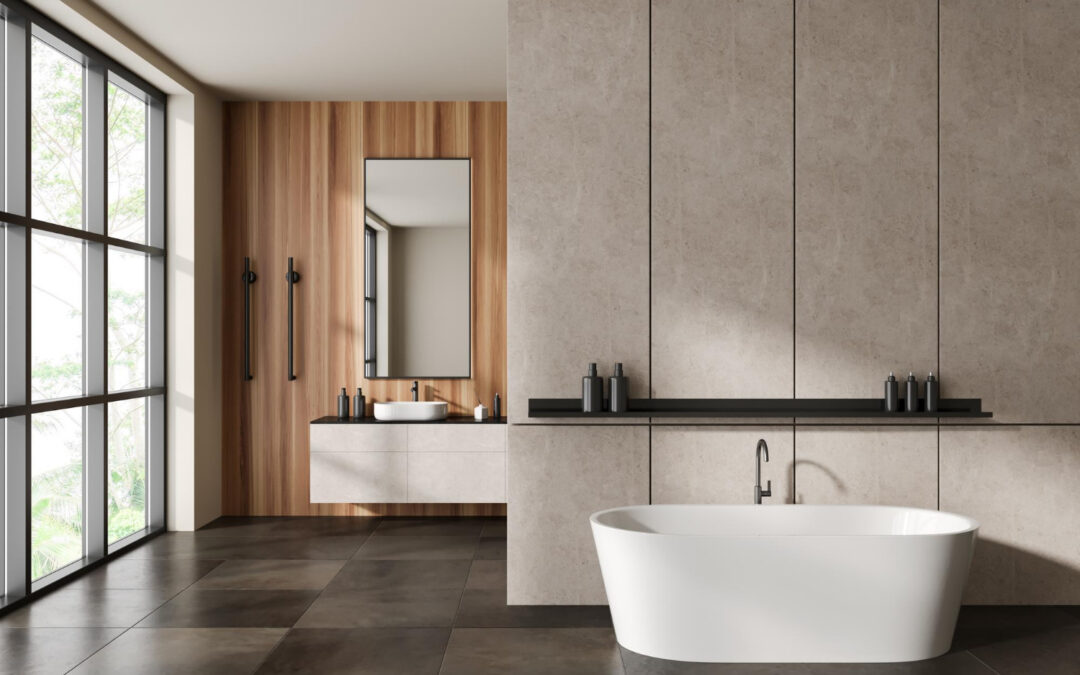
Design More Personality Into the Same Bathroom Space
A small bathroom does not have to feel basic. With smart bathroom tile installation, you can get a custom, high-end look without moving a single wall or changing the footprint at all.
At Massoglia Contracting, we focus on strong structure first, including careful waterproofing and long-lasting tile assemblies. But we also care just as much about the design details you see every day. The way a tile meets an edge, how grout lines line up, and how a niche is framed all change how the room feels, and how it holds up over time.
There are a few “personalization levers” that can make your bathroom feel truly custom: pattern scaling, grout color, edge profiles, mixed finishes, niche framing, and one-off details. These are small choices, but together they shape the whole space. Late-summer is a great time in Minnesota to plan these details so a fresh, cozy bathroom is ready before deep winter hits and long hot showers become a daily must.
Scale and Pattern Tricks That Make Small Baths Feel Custom
Tile size and layout do a lot of visual work. You can keep the same footprint and still change how tall, wide, or open the room feels.
Large-format tiles can make walls feel calmer because there are fewer grout lines. Smaller tiles, like mosaics, can give extra grip on floors and add a nice pattern. The key is how we mix them and how the pattern is scaled.
Some smart options for small baths are:
- Oversized herringbone on one feature wall to draw the eye
- Stacked joints for a clean, modern feel instead of a brick offset
- Larger tiles on main walls, smaller mosaics only on the shower floor
Direction also matters. Running tiles vertically can make the ceiling feel higher. Running them horizontally can stretch a short wall and make it feel wider. A continuous floor pattern that flows into the shower with a slight slope can visually connect the whole room and make it look less chopped up.
We also pay close attention to transitions. A well-planned bathroom tile installation ties floor, walls, and shower together so it looks intentional, not busy. For example, a simple border at shoulder height can separate a different tile pattern above, or mark a wet area, while keeping everything in the same color family. That way your eye reads the room as one calm space instead of a patchwork.
Grout, Edges, and Finishes That Quietly Elevate the Room
Grout is not just “the stuff between the tiles.” It is a design choice that affects both style and cleanability.
If you want to highlight the tile pattern, we might suggest a contrasting grout color so each tile shape pops. If you want a spa-like, quiet space, tone-on-tone grout that blends with the tile is often best. Joint width also affects the look. Slim, even joints read more modern and sleek, while slightly wider joints can work better with handmade-look or textured tiles.
We also think about:
- Grout color that hides everyday soap marks in showers
- Grout mixes suited for wet areas, to stand up to daily use
- Smooth, consistent joints that make scrubbing easier
Edge profiles are another subtle upgrade. Bullnose tiles give a soft, rounded finish. Schluter-style metal trims create a crisp, clean frame around niches, shower entries, and exposed edges. Mitered edges, where tiles are cut at angles to meet neatly at corners, can give a very built-in, custom look when done with care.
Mixed finishes add quiet luxury without loud patterns. You can stay in one color family, but:
- Use matte tiles on the floor for better slip resistance
- Bring in a satin or gloss tile on the wall to bounce light
- Add a textured tile on one wall for depth and shadow
Done right, this mix keeps the space interesting but not busy.
Smarter Niches and Features That Work Harder for You
Shower niches and small features are often where a bathroom shows its age. When they are planned with the tile layout in mind, they feel like they were always meant to be there.
Framing and proportion matter. We look at the tile size first, then size the niche so tile lines run cleanly through it. This lets us:
- Frame the niche with a border tile or metal trim
- Use mitered corners so edges are smooth and aligned
- Add a contrasting back tile for a little “wow” area
Location is just as important as looks. A niche that is too high or too low is annoying every single day. We set niche height and width around the products you actually use and how you move in the shower. Behind the tile, proper waterproofing and a slight slope on the niche shelf help prevent water from sitting and causing issues later.
Integrated extras can make the same footprint feel more comfortable. A small foot rest for shaving, a slim bench face that lines up with floor and wall tile, or a ledge that continues the tub deck into the shower can all be tiled to match or complement the main design. The bathroom does not get bigger, but it starts to work better for you.
One-Off Tile Details That Make a Remodel Feel Bespoke
Sometimes it only takes one or two standout tile details to make a bathroom feel like it was made just for your home.
Custom inlays and borders can do this without overwhelming the room:
- A small “rug” of mosaic on the floor near the vanity
- A linear accent strip at eye level that ties into the niche
- A framed area of tile that nods to the age or style of the house
Thoughtful alignment is another quiet sign of quality. Centering patterns on the main sightlines, like the vanity or the shower glass, makes the room feel balanced. Aligning grout joints with plumbing fixtures and wrapping patterns cleanly around corners show that every tile was planned, not just placed.
We often guide homeowners to pick one or two main design moments, then let the rest of the room support those choices. That balance keeps the bathroom feeling timeless and high-end, instead of busy or trendy.
Turning Design Ideas Into a Build-Ready Tile Plan
Bringing these ideas together into a real plan is where professional help matters. Photos, notes, and simple sketches are a great starting point. From there, we translate your ideas into exact tile sizes, patterns, grout colors, and trim profiles that work with your existing bathroom footprint.
At Massoglia Contracting, we pair that design planning with careful prep work behind the scenes. That includes the right substrate, waterproofing, and layout checks before any tile is set. Custom details only look good long term if the structure underneath is solid, especially in a wet Minnesota bathroom that sees a lot of temperature swings.
Late summer is a smart time to sort through tile samples and make these decisions, so the build can move smoothly into the cooler months. With a clear, build-ready tile plan, your bathroom can feel like a fully custom space, even if the size never changes at all.
Get Started With Your Project Today
If you are ready to update your space with expert craftsmanship, our team is here to help you plan and complete your bathroom tile installation with precision. At Massoglia Contracting, we work closely with you to choose materials, layouts, and details that fit your style and budget. Tell us about your project and we will provide a clear, straightforward plan from the first conversation through final cleanup. To schedule a consultation or ask questions, simply contact us today.

Recent Comments