Stop Leaks Before They Start with Smart Shower Planning
Waterproofing choices should come before any bathroom tile installation, not after the tile is picked out. The hidden layers under the tile are what keep water away from framing, subfloor, and insulation. When those layers are wrong, you can end up with mold, soft floors, and damaged walls, even if the shower looks great on day one.
Summer is a common time for Twin Cities homeowners to tackle bathroom remodels. Schedules are a little more flexible, windows can stay open for ventilation, and many people want their new shower ready before fall. That faster pace makes it even more important to slow down at the planning stage and get the waterproofing details in writing.
Our goal here is simple: help you create a clear waterproofing scope for your shower before your tile installer starts. A waterproofing scope is a written description of how the shower will be waterproofed, what products will be used, and how the work will be checked. When everyone is working from the same plan, your chances of a long-lasting, leak-free shower go way up.
Start with the Right Waterproofing System, Not Just Tile
Tile itself is not waterproof. Grout is not waterproof. Even cement board is only water resistant. A durable shower is a complete assembly, with a true waterproofing system behind the tile, all tied together as one continuous layer.
There are three main types of shower waterproofing systems you will hear about:
- Sheet membranes
- Liquid-applied membranes
- Foam backer board systems
Sheet membranes are thin sheets that get bonded to the walls and floor. They are great when installed carefully, with tight seams and proper overlaps. Liquid-applied membranes go on like paint or as a rolled-on coating and cure into a continuous layer, but they need correct thickness across every square inch. Foam boards have a waterproof face and are screwed to the framing, then sealed at all joints and fasteners.
Any of these can work when they are part of one consistent system from a single manufacturer. Problems often start when someone mixes random products, or skips the matching tapes, sealants, or drain parts. For your scope, you want more than a note that says “waterproof per code.” Ask your pro to specify:
- Brand and exact product names
- Where each product will be used (walls, floor, niche, bench)
- Required thickness or coverage for liquids
- Any manufacturer warranty or system requirements
Minnesota homes see large swings in temperature and humidity, and showers can run hot and steamy. That means your system needs to handle expansion, contraction, and vapor without cracking or peeling. A well-chosen system, installed to the manufacturer’s directions, gives your bathroom tile installation a solid, stable base.
Specifying Drains, Pans, and Slopes That Actually Work
Many shower failures start at the base, not the walls. A watertight shower base has three core parts: the drain, the pan or mud bed, and the slope that moves water to the drain every single time.
Common drain options include:
- Traditional clamping drains with a liner below the mortar bed
- Integrated bonding flange drains that connect directly to a surface membrane
- Linear drains along one edge of the shower
Each style needs to match the waterproofing system. For example, an integrated bonding flange drain ties neatly to a sheet membrane at the surface. A traditional clamping drain usually works with a vinyl or rubber liner placed under the mortar bed. In your scope, note the drain type and how the membrane will connect to it so your installer is not guessing.
Slope matters just as much. A good standard is at least 1/4 inch of slope per foot from the farthest corner to the drain. Your written plan should address:
- Slope direction and drain location
- Whether you will use mosaics or larger tiles on the floor
- How the slope will avoid low spots where water pools
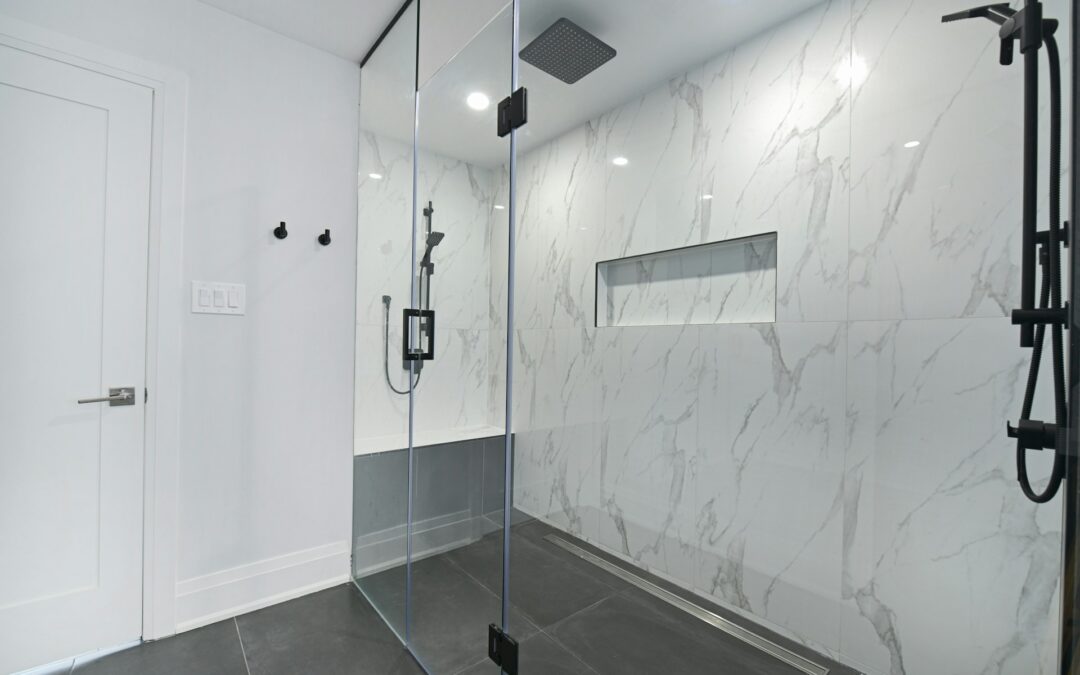
If you are planning a curb, that should be in the scope too: how high it will be, how it is framed, and how the waterproofing wraps up and over it. For curbless showers, the plan should cover how the floor will be recessed or built up, how the main bathroom floor ties in, and how water is kept from running out into the room. All of this affects how the bathroom tile installation looks and functions.
Nail the Transitions: Where Most Showers Fail
Water rarely leaks from the middle of a tile. It almost always finds a weak point at a change of plane or material. High-risk areas include:
- Wall-to-floor joints
- Inside and outside corners
- Niches and benches
- Pony walls and glass wall ends
- Window openings in the shower area
- Where the shower floor meets the main bathroom floor
Your waterproofing scope should call out how each of these will be reinforced. Many systems offer preformed inside and outside corners, as well as banding strips. Liquid systems may call for mesh fabric at corners. Instead of leaving it vague, your scope can say something like:
- “All wall-to-floor joints to receive membrane banding or fabric, fully embedded.”
- “Membrane to continue at least above the shower head height on all wet walls.”
- “Benches and niches to be fully wrapped in the same waterproofing system on all sides, including top and underside where accessible.”
Material transitions also need a plan. Where cement board meets drywall, the installer should know where waterproofing stops and where standard paint-grade drywall work begins. At the edge of the shower, specify:
- Where tile will end and what trim will be used
- What sealant joints will be included, especially at corners and plane changes
- Any movement joints in larger tiled walls or floors
These details help reduce cracking and give the waterproofing layer the flexibility it needs to perform over time.
Flood Testing and Documentation Before Tile Goes In
A flood test is one of the best ways to know if your waterproofing system is doing its job before tile covers everything. The idea is simple: plug the drain, fill the shower base with water to a certain level, mark that level, and check it after at least 24 hours. If the water level has not dropped and there are no signs of leaks below, you are in good shape.
Your scope should clearly state:
- Who is responsible for performing the flood test
- How long the test will last
- What happens if the test fails, including repairs and retesting
This is normal practice in high-quality bathroom tile installation, not an upgrade. It does add a day or two to the schedule, which is important to keep in mind if everyone is trying to rush a summer project along. That extra time is small compared to the hassle of tearing out a failed shower later.
It is also smart to request basic documentation. Ask your pro to take:
- Photos of the completed waterproofing before tile goes in
- Photos or a short video of the flood test, with visible water level marks
If there is ever a warranty question, those images help show what was done behind the tile.
Turning Your Waterproofing Plan Into a Clear Scope
Once you understand the pieces, you can pull them together into one short document. A solid waterproofing scope usually includes:
- Chosen waterproofing system and products
- Drain type and how it ties into the membrane
- Shower base build, including slope and floor tile style
- Details for niches, benches, curbs, or curbless entries
- Transition treatments and sealant joints
- Flood test requirements and documentation
When you talk with potential contractors, ask clear questions about:
- Which brands and systems they prefer for shower waterproofing
- How they handle corners, niches, and benches
- Whether they always perform flood tests
- How they follow the manufacturer’s installation guidelines
For Twin Cities homeowners planning a bathroom remodel, this kind of written scope helps your tile installer, plumber, and general contractor work together. Careful waterproofing planning sets the stage for high-quality tile work that looks great and stands up to daily use for years.
Get Started With Your Project Today
Transform your bathroom with precise, long-lasting results through our expert bathroom tile installation services. At Massoglia Contracting, we take the time to understand your vision, recommend the right materials, and plan every detail before work begins. If you are ready to move forward or have questions about your project, simply contact us and we will help you take the next step.

Recent Comments